9 月 . 05, 2024 11:43 Back to list
How to Use Fiberglass Mesh
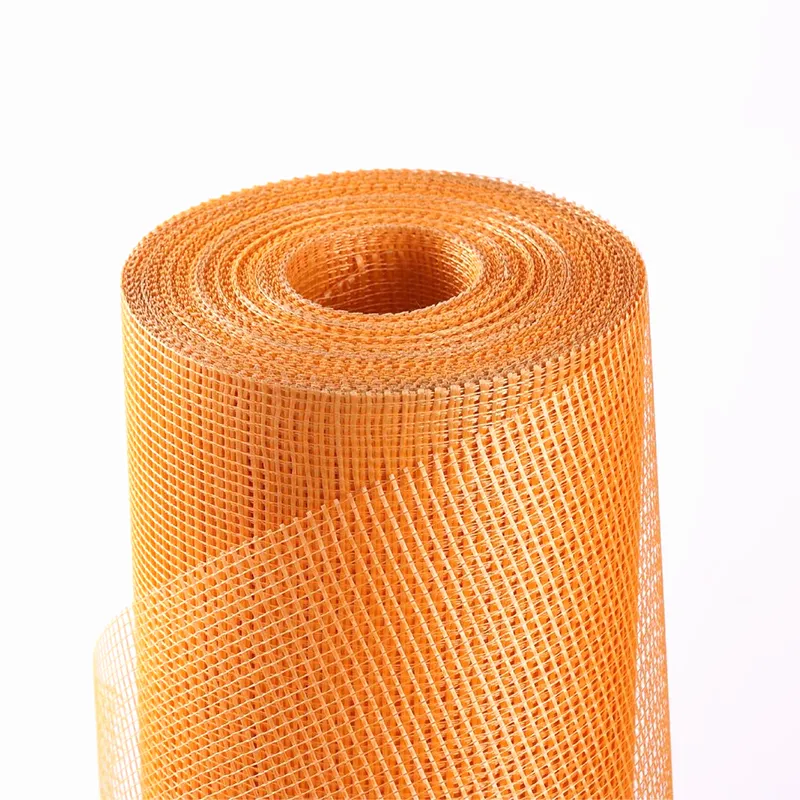
When it comes to home improvement and construction projects, fiberglass mesh is a versatile and durable material that's often underappreciated. From reinforcing drywall to supporting stucco applications, this lightweight mesh offers impressive strength without adding unnecessary weight. In this blog post, we'll explore how to use fiberglass mesh effectively to achieve professional results in your projects.
Understanding Fiberglass Mesh
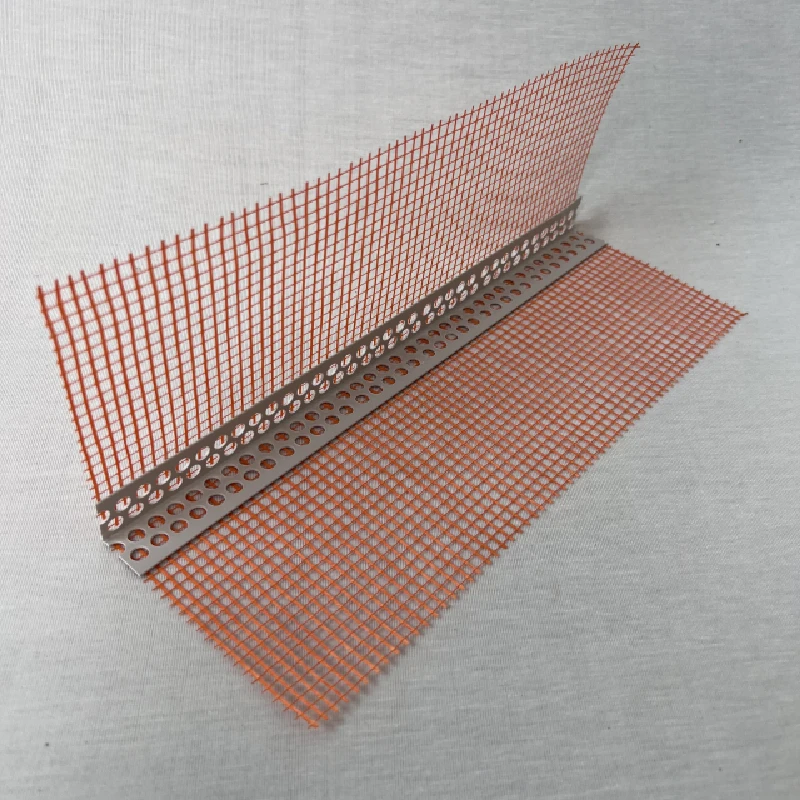
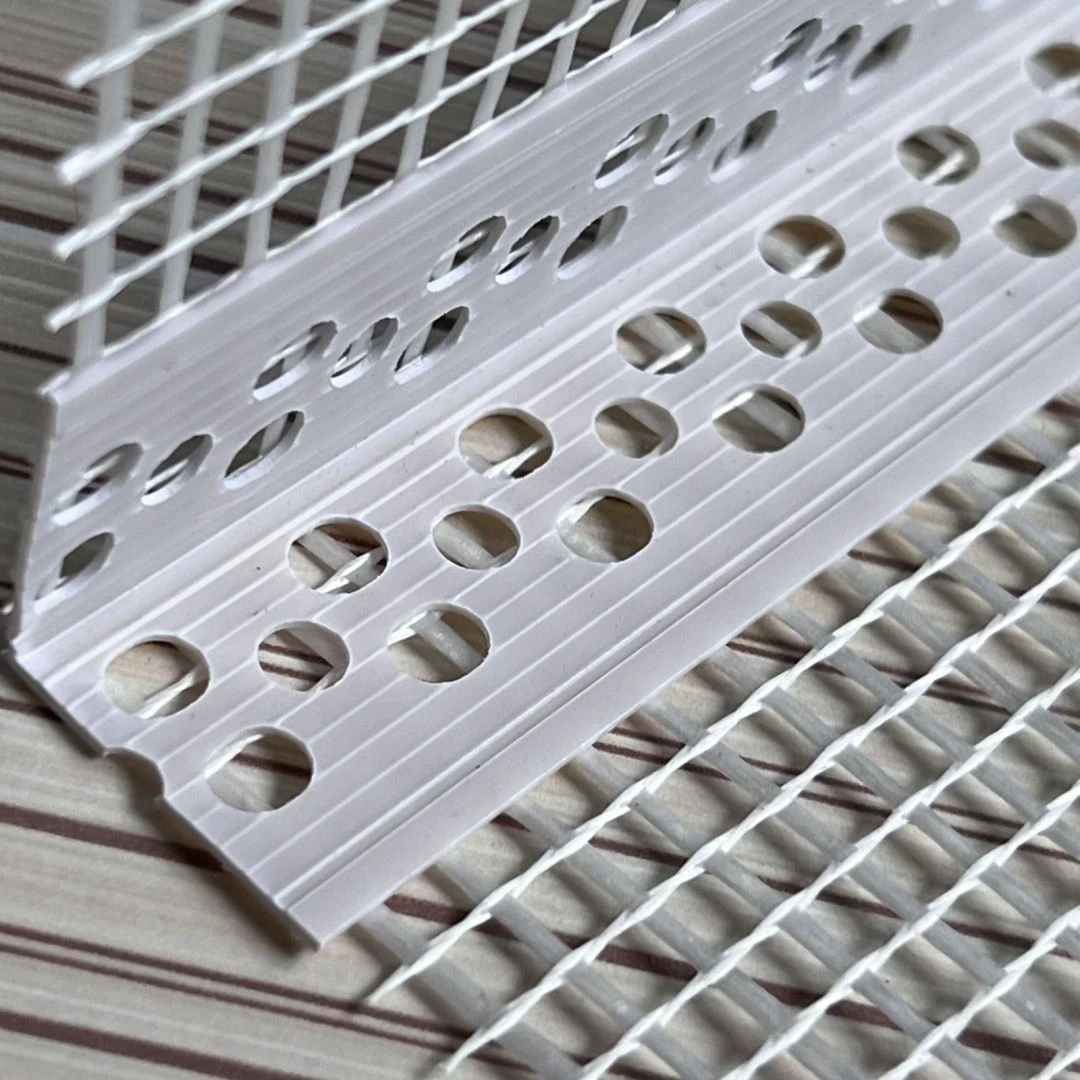
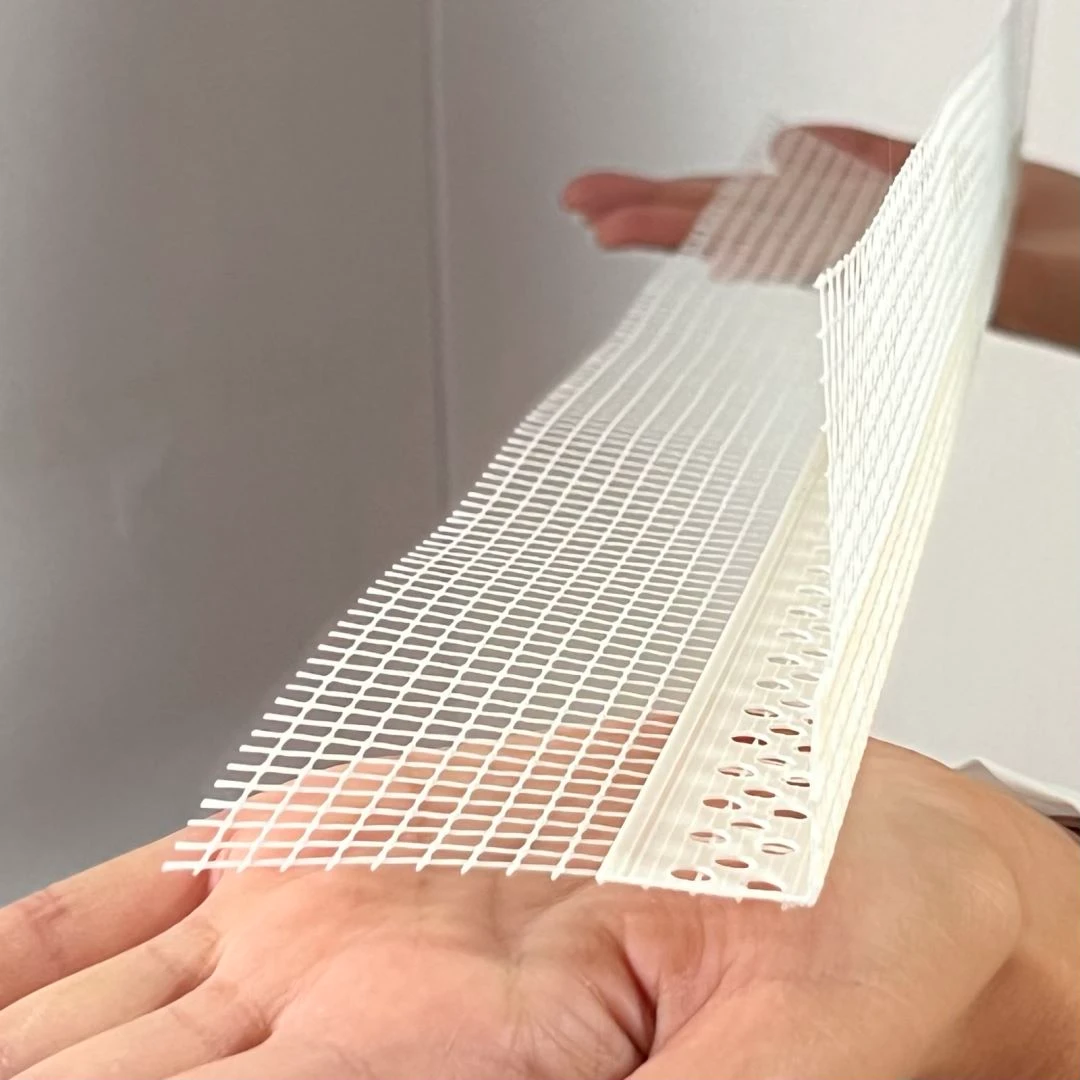
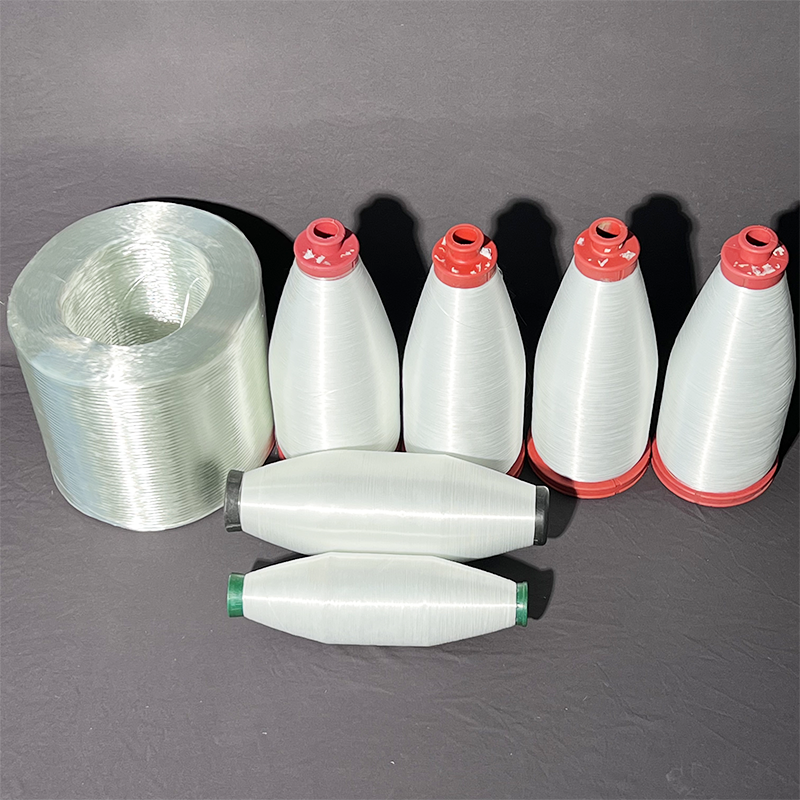
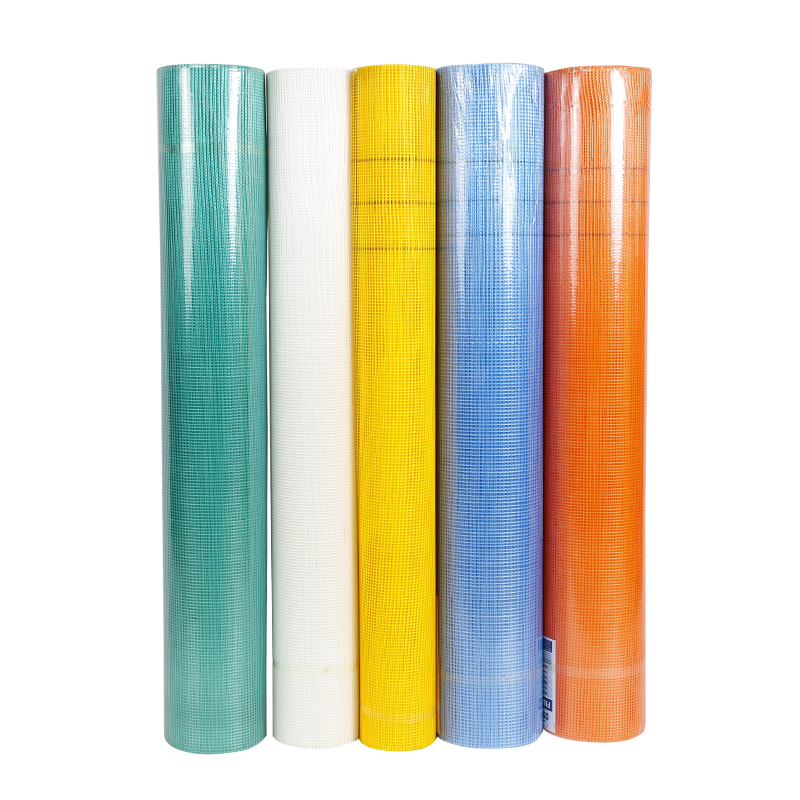
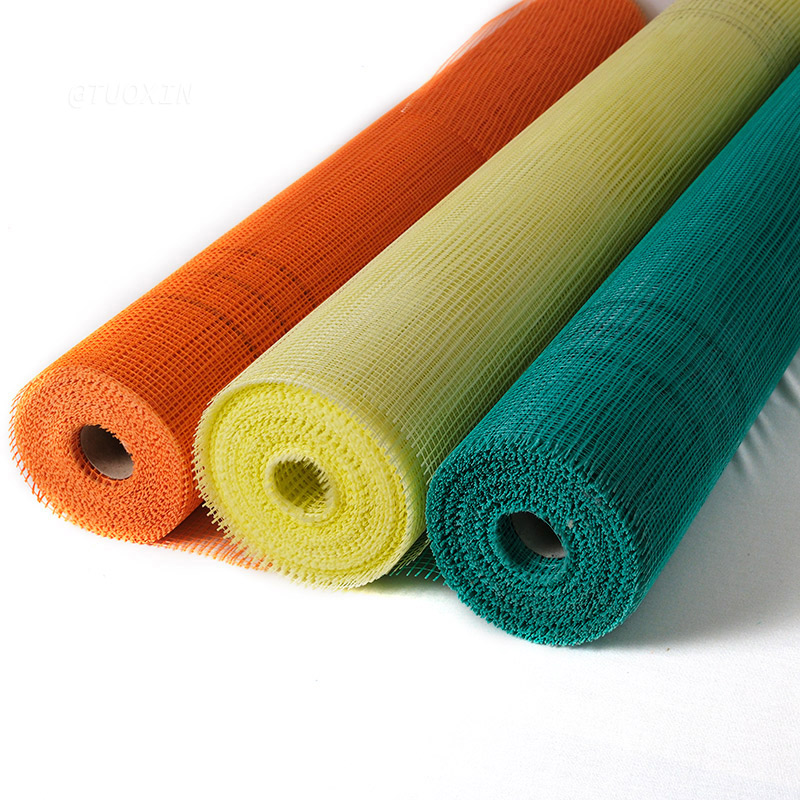
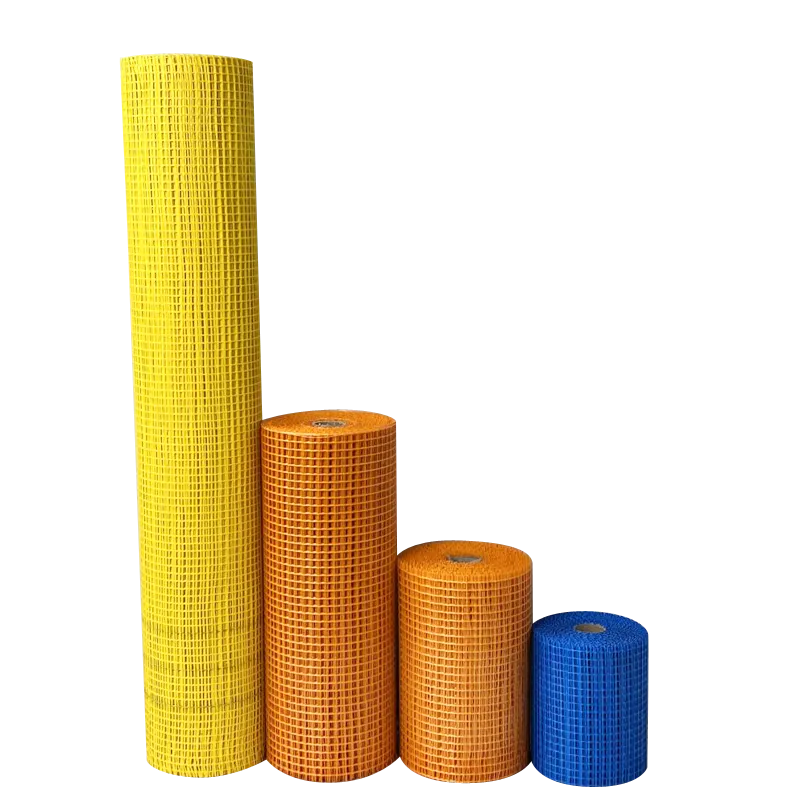
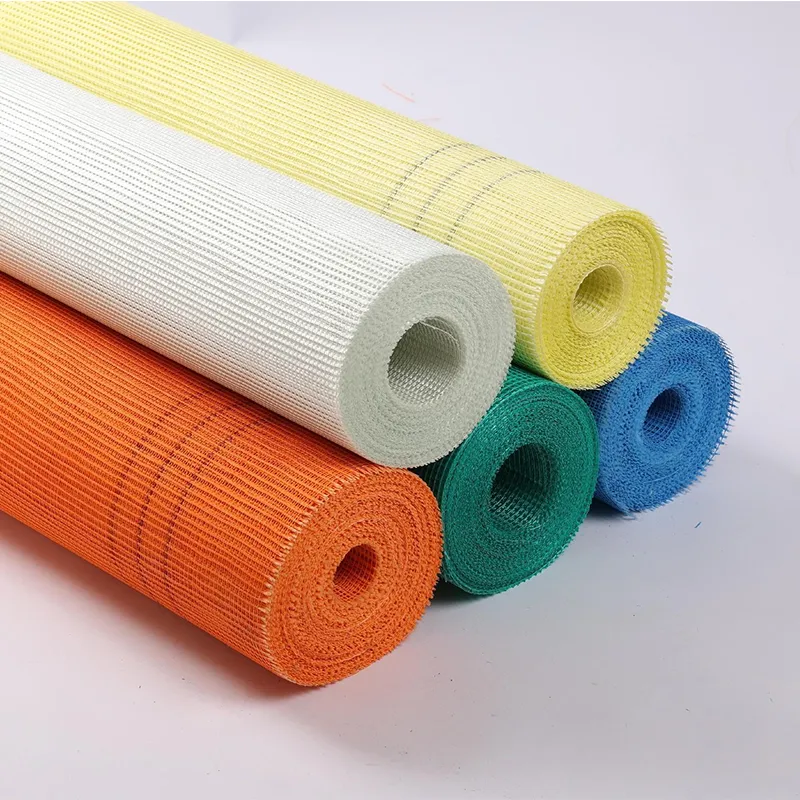
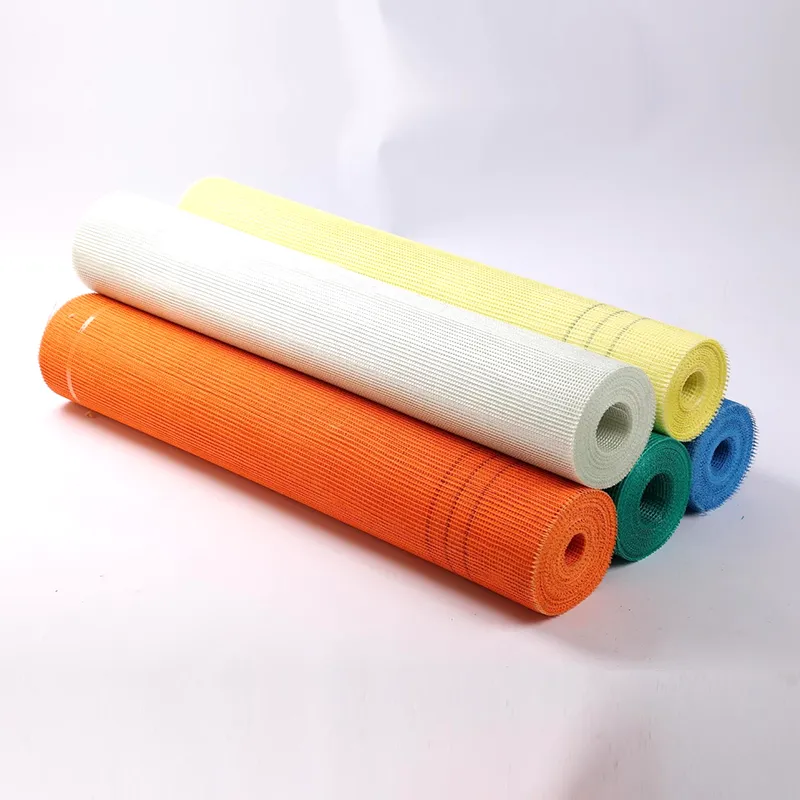
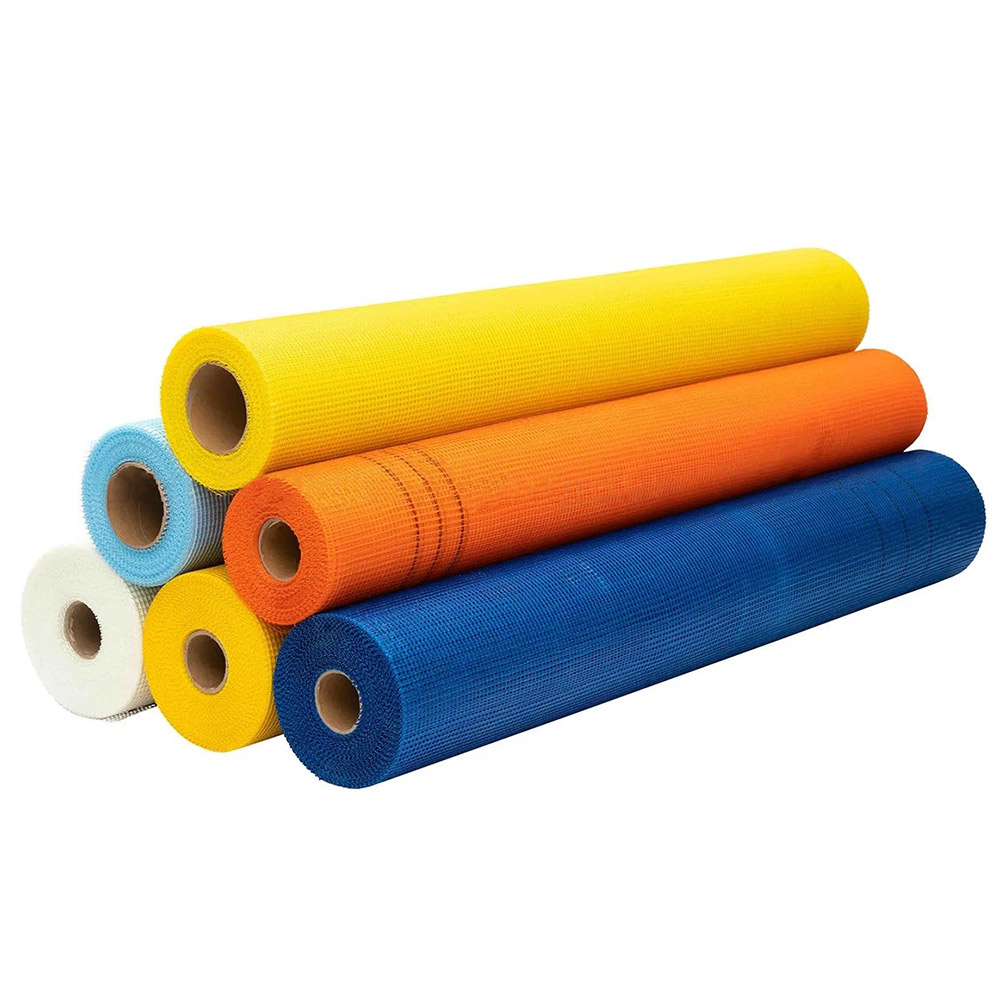
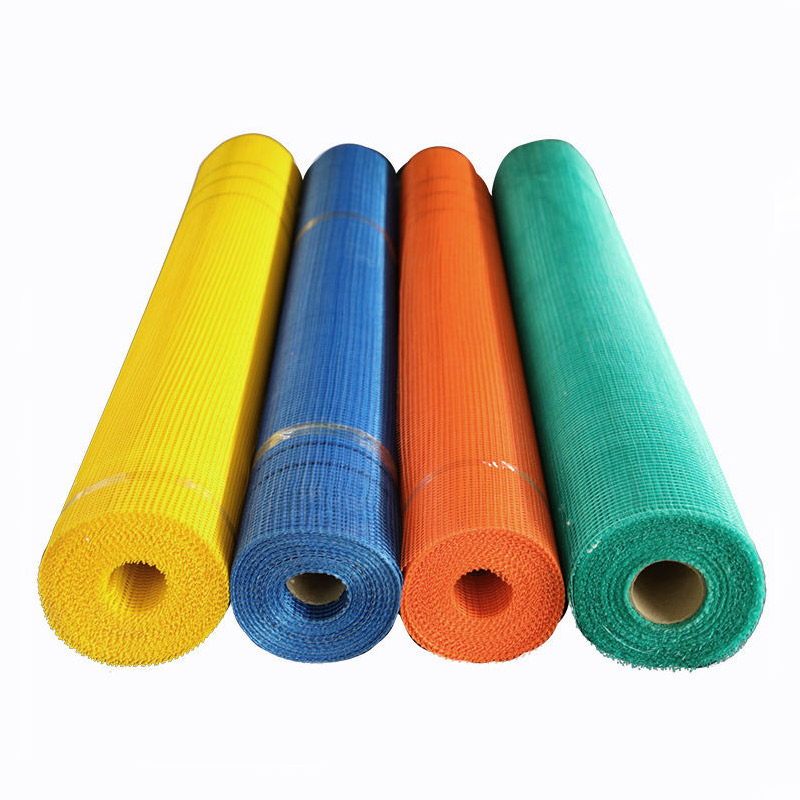
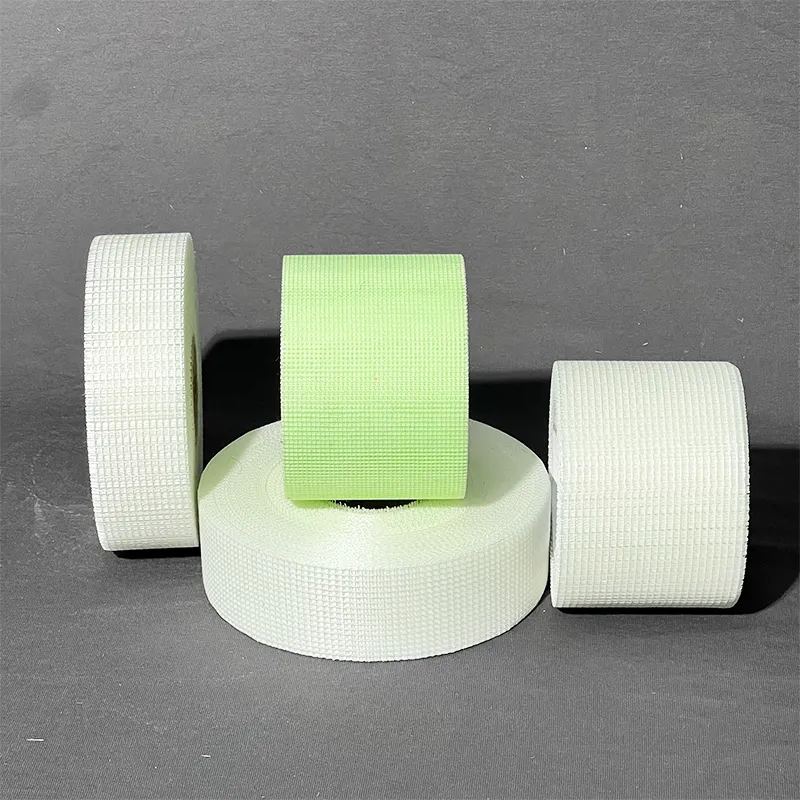
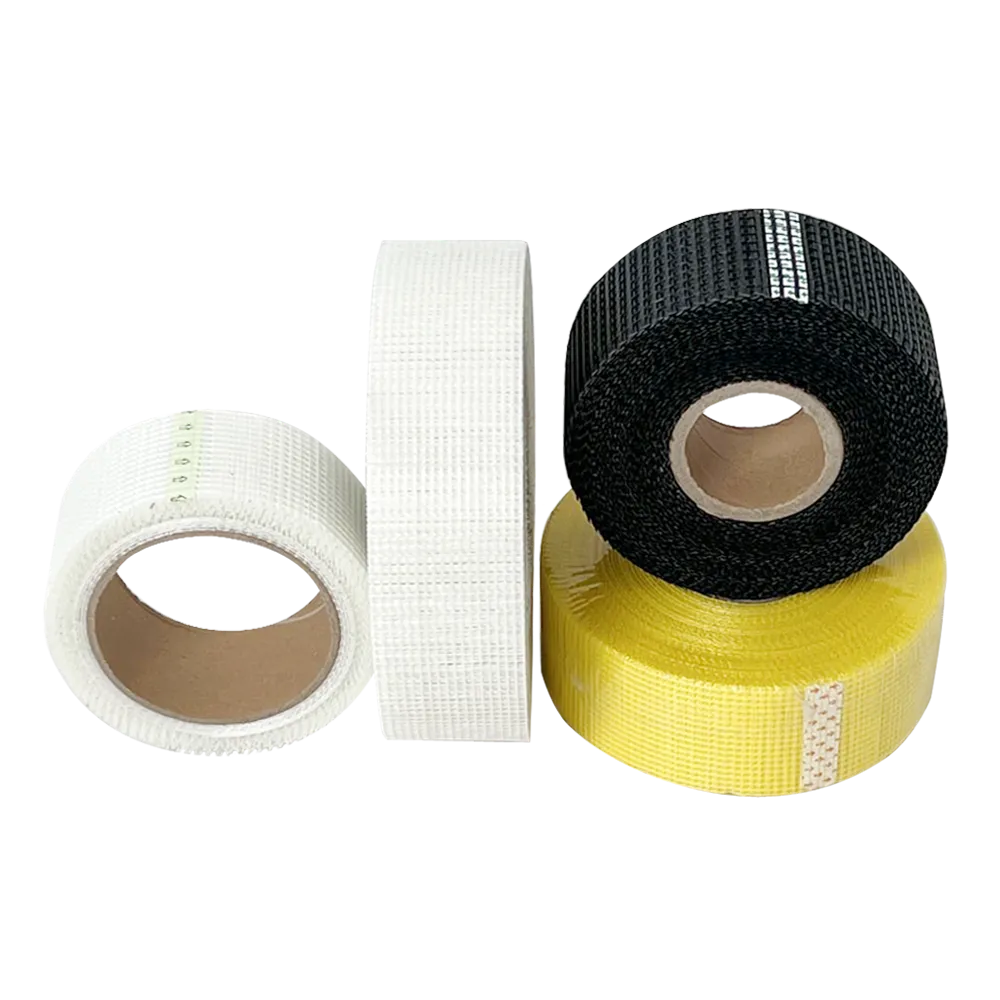
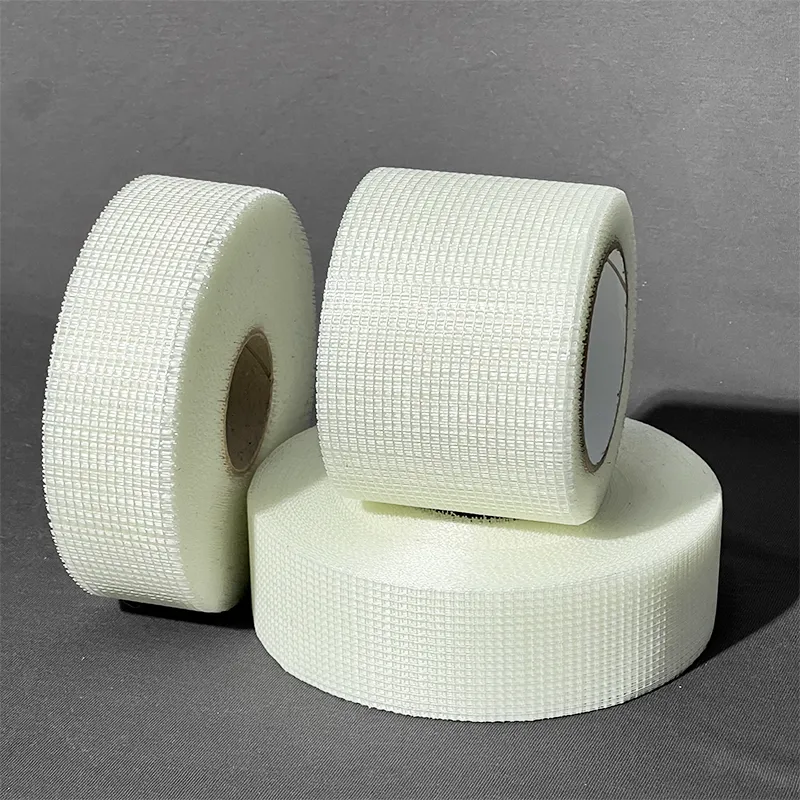
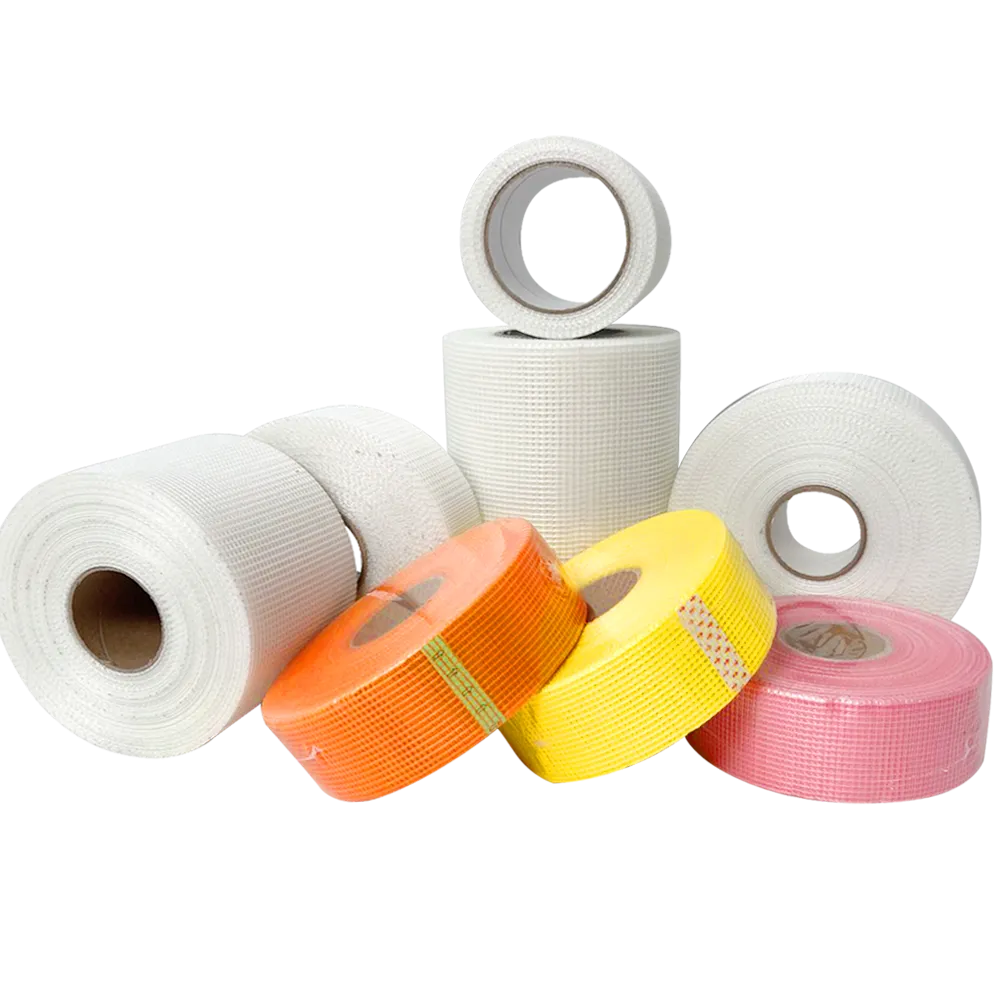
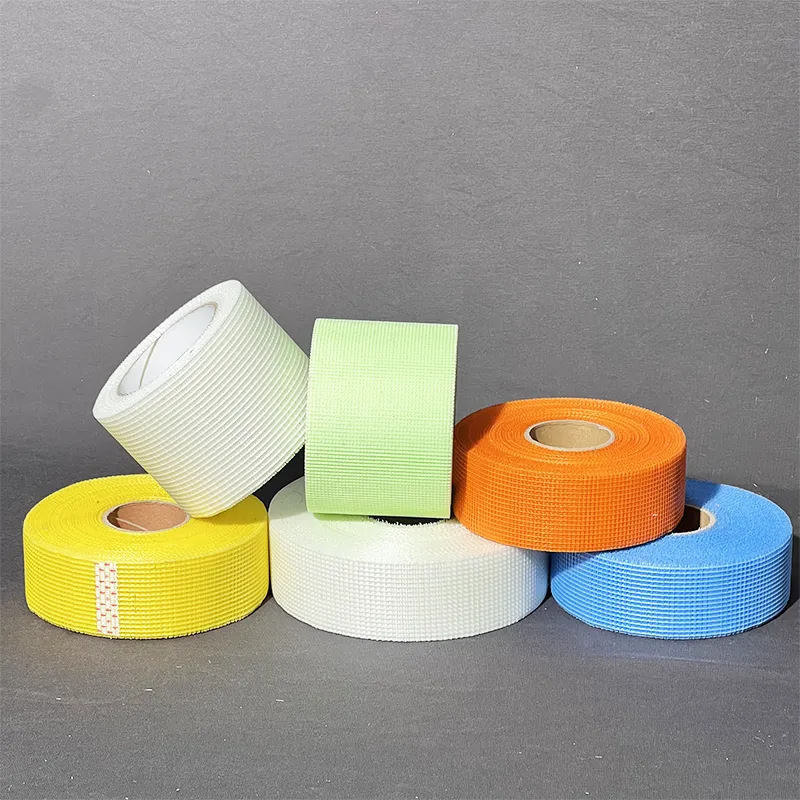
Fiberglass mesh is made from woven strands of glass fibers, providing excellent tensile strength and resistance to moisture. Its non-corrosive properties make it ideal for a variety of applications, including:
- Drywall Repair: Reinforcing seams and patches to prevent cracking.
- Stucco and Plaster Applications: Offering support to cement-based materials.
- Roofing Projects: Enhancing the durability of roofing materials.
How to Use Fiberglass Mesh: Step-by-Step Guide
1. Gather Your Materials
Before diving into your project, it's essential to gather all the necessary materials. For typical applications, you will need:
- Fiberglass mesh
- Joint compound or plaster
- A putty knife
- Scissors (for cutting the mesh)
- Sandpaper
- Primer and paint (optional)
2. Prepare the Surface
The first step in **how to use fiberglass mesh** is to prepare your surface. Make sure the area is clean, dry, and free from dust or debris. If you're repairing drywall, remove any loose material around the damaged area to ensure a strong bond.
3. Cut the Fiberglass Mesh
Using scissors or a utility knife, cut the fiberglass mesh to the appropriate size for your project. Make sure it extends beyond the damaged area for optimal coverage. If you’re working with joints on drywall, the mesh should typically be slightly longer than the joint itself.
4. Apply Joint Compound
With the surface prepared, use a putty knife to apply a thin layer of joint compound or plaster over the area where you'll place the mesh. This layer will help the mesh adhere better to the surface.
5. Embed the Fiberglass Mesh
Carefully lay the cut piece of fiberglass mesh onto the wet joint compound. Use the putty knife to press it in, ensuring that there are no bubbles or wrinkles. It’s important for the mesh to be fully embedded in the compound for maximum strength.
6. Apply Additional Joint Compound
Once the mesh is laid down, use the putty knife to cover it with an additional layer of joint compound. Feather the edges out to blend it with the surrounding surface. This step is crucial for achieving a seamless finish.
7. Let It Dry
Allow the joint compound to dry completely, following the manufacturer’s recommendations. This usually takes several hours to a full day, depending on humidity and temperature levels.
8. Sand and Finish
After the compound is dry, use sandpaper to smooth the surface. Be careful not to sand too aggressively, which could damage the mesh underneath. Once you achieve a smooth finish, you can apply primer and paint as desired.
Tips for Success
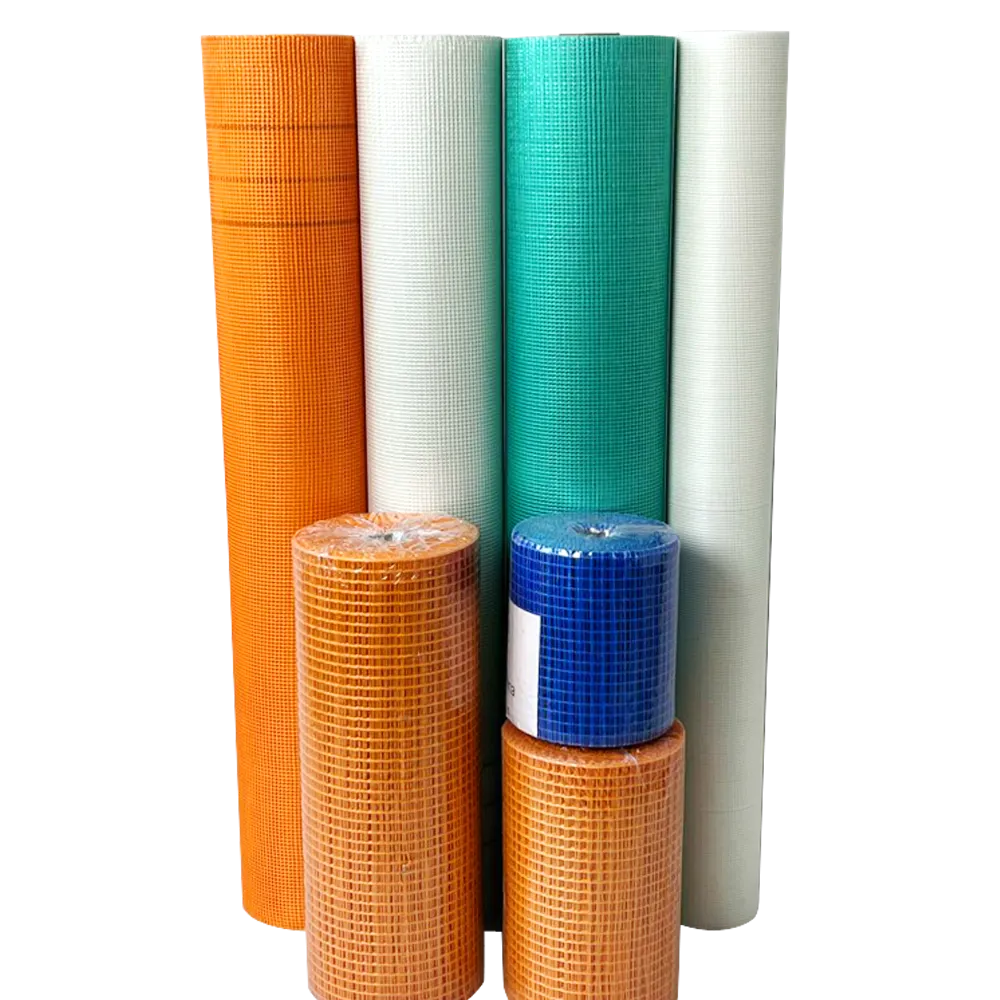
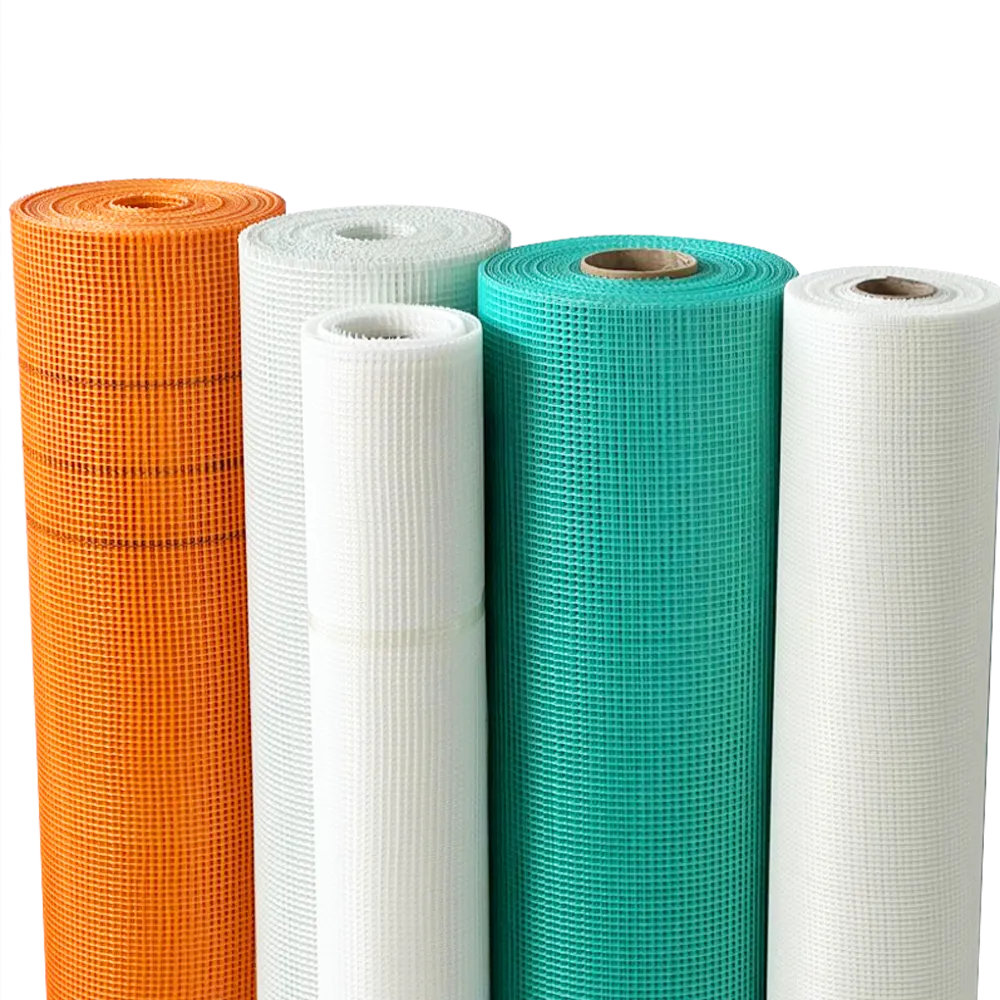
- Choose the Right Mesh: Ensure that you select the appropriate type of fiberglass mesh for your project, as there are various grades available based on thickness and strength.
- Practice Patience: Working with fiberglass mesh requires patience—allow adequate drying time at each step for a polished final product.
- Safety First Always wear a mask and goggles when cutting fiberglass mesh or sanding surfaces to protect yourself from dust and fibers.
Now that you know how to use fiberglass mesh, you can take on your next DIY project with confidence! Whether you're repairing drywall, reinforcing plaster, or enhancing roofing materials, this simple but effective material will provide the support and durability you need. Remember to follow each step carefully, and your projects will not only look great but will also stand the test of time. With the right preparation and technique, fiberglass mesh can transform your home repairs and improvements into professional-quality results. Happy crafting!
-
Why Fiberglass Mesh Tape Is the Contractor’s New Best FriendNewsOct.30,2024
-
The Role of Fiberglass Mesh Tape in Tile and Plaster ApplicationsNewsOct.30,2024
-
Humidity-Resistant & Mold-Preventive: Why Fiberglass Mesh Tape is Ideal for High-Moisture AreasNewsOct.30,2024
-
From Patching to Reinforcement: How Fiberglass Mesh Tape Is Changing the Face of ConstructionNewsOct.30,2024
-
Why Fiberglass Mesh Tape is the Sustainable Choice for Safer HomesNewsOct.30,2024
-
Save on Maintenance Costs with Fiberglass Mesh Reinforced StructuresNewsOct.25,2024
